This semester, I am teaching the CS1 course again. If you just teach plain
Java, it isn't easy to come up with interesting lab assignments. Some of the
students have built exciting animations with Alice in the CS0 course. Somehow, they aren't as
excited about printing prime numbers or digits of π in CS1. But the latest
version of Alice, now in beta, can be programmed in Java. This is very cool.
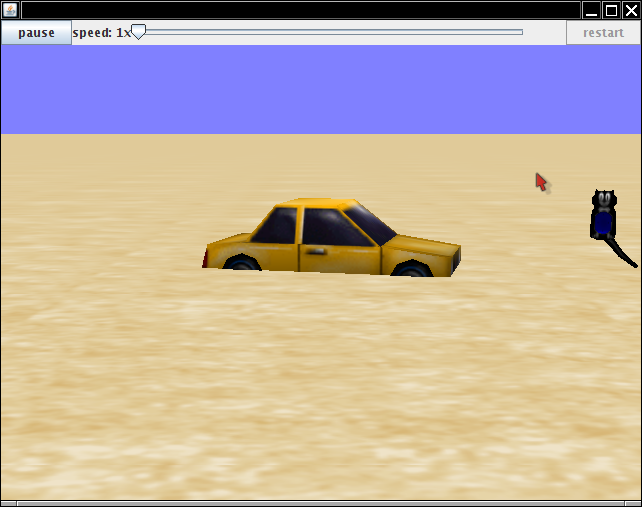
Students can write Java code that directs the Alice models. For example, one
assignment asks students to make a Car class whose
drive method moves the car and reduces the gas in the tank. (I
couldn't find a gas gauge, so I used the cat clock. The tail moves to the left
as the tank gets emptier.) I provide the code for moving the car and rotating
the tail, and the students compute the gas consumption.
Here is my procedure for making a lab assignment.
nbproject/private/private.properties with an empty
fileThe CS1 students use NetBeans, not the Alice IDE. (The Alice IDE is wonderful for pre-CS1 because students drag and drop statements instead of typing them in. They can never make a syntax error! But in CS1, we want to use actual Java, and students need to learn how to deal with syntax errors.) Autocompletion works nicely (and is pretty much a requirement since there is no API documentation available yet). Students learn how to implement methods, branches, and loops in Java. The visual feedback with the Alice models really helps with learning the material.
There are some things that are easier to do with Alice-in-Netbeans than with the Alice IDE, in particular constructing lots of objects. It is a simple matter for the car to drop toasters to mark the path, or to make a whole bunch of wall segments in a maze:

There are just a few things you need to know:
Transformable obj = new Toaster(); // or some other model
obj.setLocalPointOfView(new PointOfView(
   new Quaternion(0, 0, 0, 1),
   new Position(x, y, z)));
getScene().addComponent(obj);
turn method:
obj.turn(TurnDirection.LEFT, angle, 0);
Here, 0 means that the turning happens instantaneously, and
angle is between 0 and 1. (A quarter turn would have an angle
of 0.25).
Or, you can use quaternions. In Alice, the quaternion a +
b i + c j + d k is a new Quaternion(b, c,
d, a). That is, the real coefficient comes last! In other words,
new Quaternion(0, 0, 0, 1) is the unit quaternion. Rotation
around the vector (x, y, z) with angle α is sin(α/2)
(x i + y j + z k) + cos(α/2). For example,
to rotate a wall 90 degrees around the y-axis (as with the walls facing
east/west in the image above), you use a new Quaternion(0,
Math.sqrt(0.5), 0, Math.sqrt(0.5)).
for (Composite match : getScene().findAllMatches()) {
  if (match instanceof Wall) ...
}
Of course, you want to hide those quaternions from your students in a suitable superclass, or they will beg you to go back to computing prime numbers or the digits of π.
If you want to give all this a try, download Alice 3 and the Netbeans plugins from the Kenai site and check out the labs that are posted here.