To create a 16 bit Windows project
- Add all Include files to your current directory
- Locate the directory containing the CCC header files (typically, c:\ccc\cccfiles)
- In File Manager or Explorer, copy its entire contents to the directory containing
the program file to be built (for example, from c:\ccc\cccfiles to c:\ccc\examples\ch1)
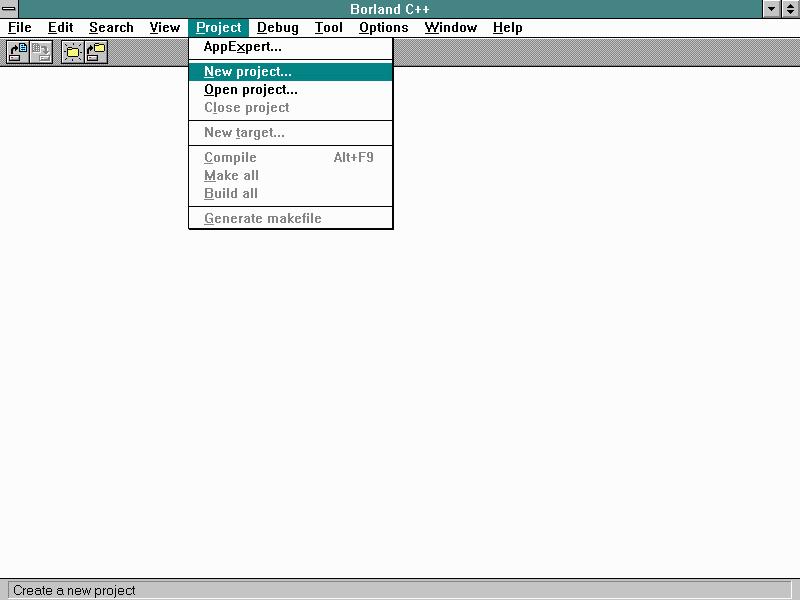
- Select the Project | New option from the main menu of the Integrated Development
Environment
- In the resulting New Target dialog box

- Under Project Path and Name: Type your project's name into Edit box
(Generally, use the base filename of your primary .cpp file, do not erase the .ide)
It will be preceded by a default path name and have an .ide suffix
(Generally, use the same directory as your primary .cpp source file)
- Under Target Type: Select Application[.exe]
- Under Platform: Select Windows 3.x (16)
- Under Target Model: GUI
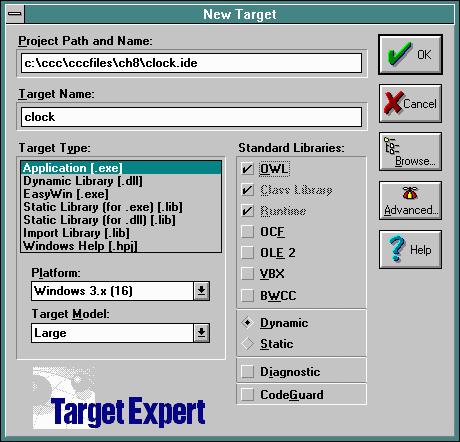
- Under Standard Libraries: Deselect OWL, then Deselect Class Library,
leaving Runtime
- Under Set the Radio Button for Static/Dynamic to Static

- Click on the Advanced Button, Deselect the .rc and .def options
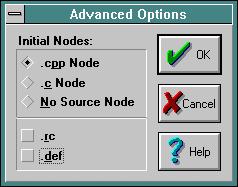
- Click on OK
- Turn off precompiled headers
- From Main Menu, select Options | Project
- In the resulting Project Options dialog box, Double Click on Compiler
and Select Precompiled Headers
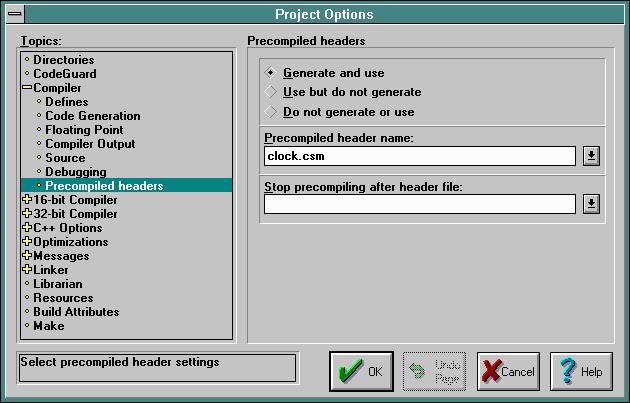
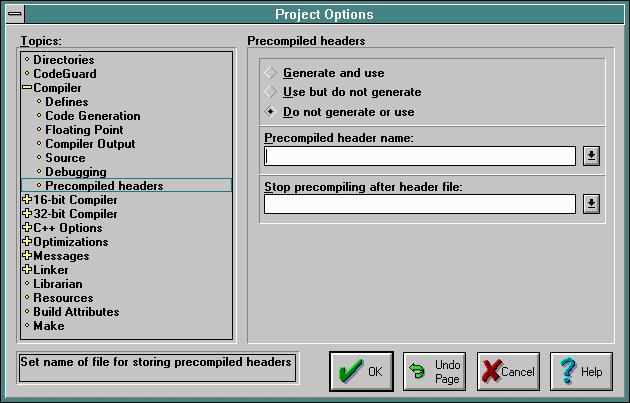
- Select Do not generate or use
- Delete the name of the compiler generated .csm file
- Click on OK
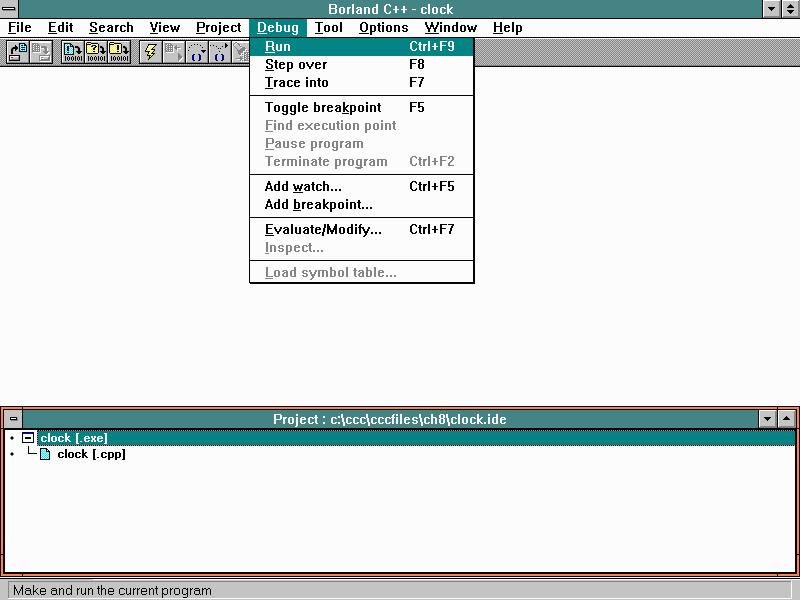
- When you are ready to build your program, select Project | Build All
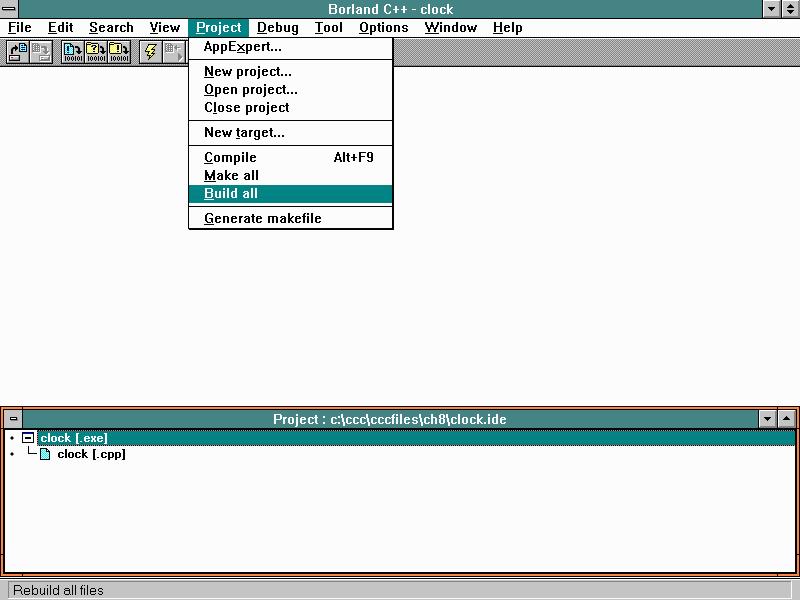
Or, from the Debug option of the main menu, select Run to build a Debug project and Run it