- Locate the directory containing the CCC header files (typically, c:\ccc\cccfiles)
- In File Manager or Explorer, copy its entire contents to the directory containing the program file to be built (for example, from c:\ccc\cccfiles to c:\ccc\examples\ch1)
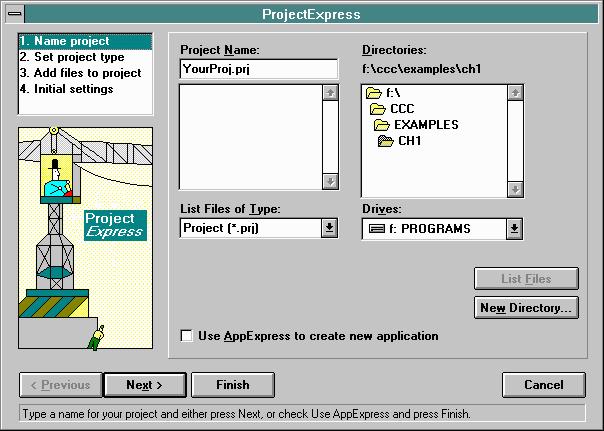
- Highlight Name Project: Type your project's name into the edit box.
(Generally, use the base filename of your primary .cpp file)
To store the new project in the same directory as your program file, browse to the directory containing the primary .cpp file on your harddrive.
- Highlight Set Project Type: Click on the WinNT or Win95, and select Executable

- Highlight Add Files to Project: Browse to find primary .cpp file from your harddrive
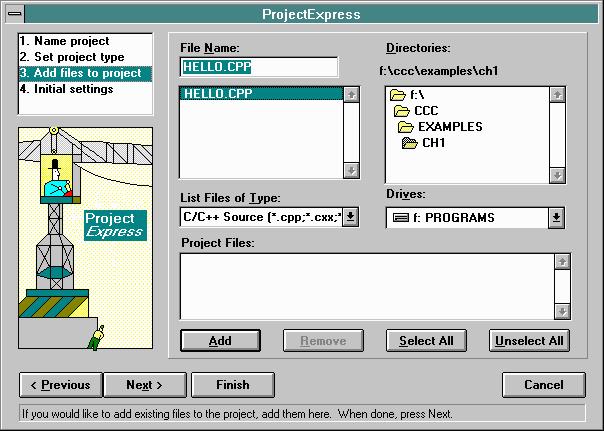
- Click on the Finish button to confirm name, type and platform of your new project workspace
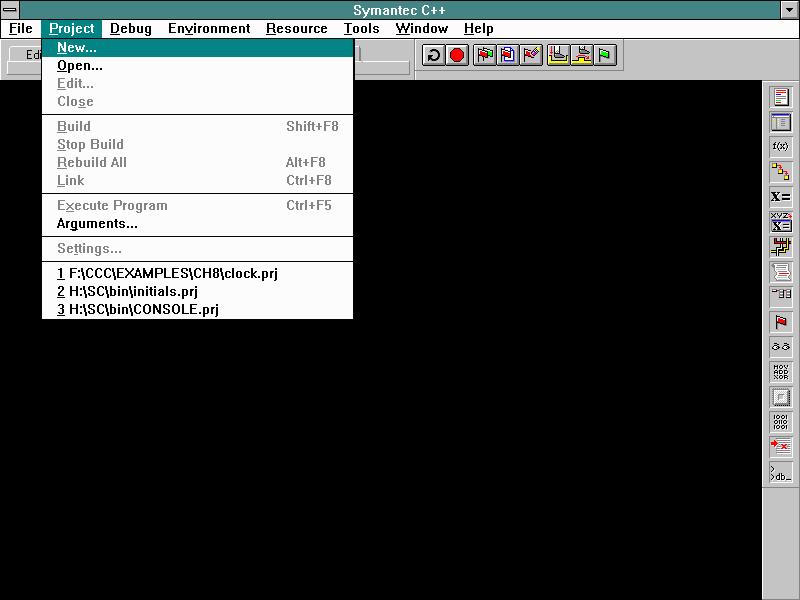
Project | Build Shift-F8 or Project | Build All Alt+F8