- Locate the directory containing the CCC header files (typically, c:\ccc\cccfiles)
- In File Manager or Explorer, copy its entire contents to the directory containing the program file to be built (for example, from c:\ccc\cccfiles to c:\ccc\examples\ch1)
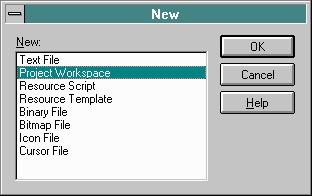
- Under Type: Click on Application
- Under Name: Type your project's name into Edit box
(Generally, use the base filename of your primary .cpp file) - Under Platform: Select Win32
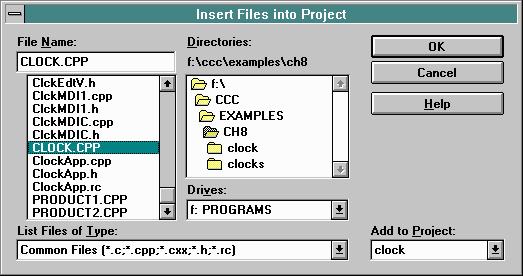
- Under Location: Browse to select a Directory to contain system
generated files for use as project workspace
(Generally, use the same directory as your primary .cpp source file) - Click on the Create button to confirm type, name, platform and
location of your new project workspace

Project | Build | "project name".exe
from the main menu of the Development Environment, or Select
Project | Debug | Go
from the main menu of the Development Environment, or Select