JCreator is a commercial Java environment available from http://www.jcreator.com.
Inexpensive academic licenses and a free "limited edition" are
available. JCreator runs only on Microsoft Windows.
This document describes JCreator 2.50.
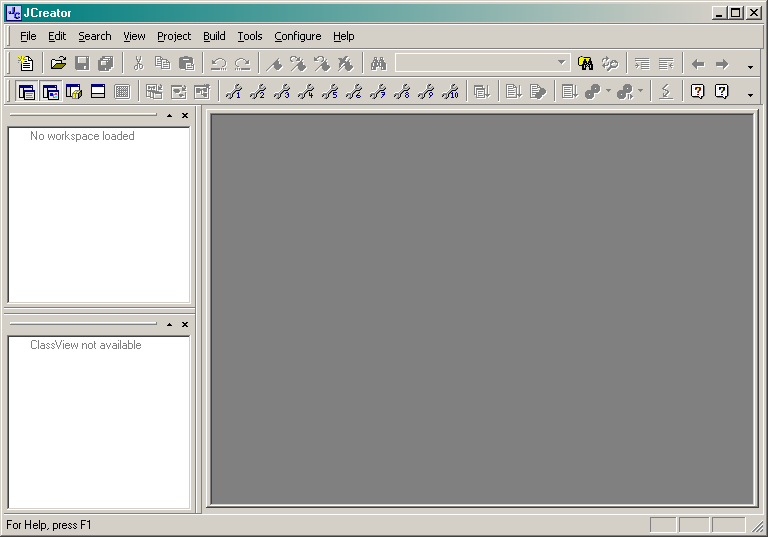
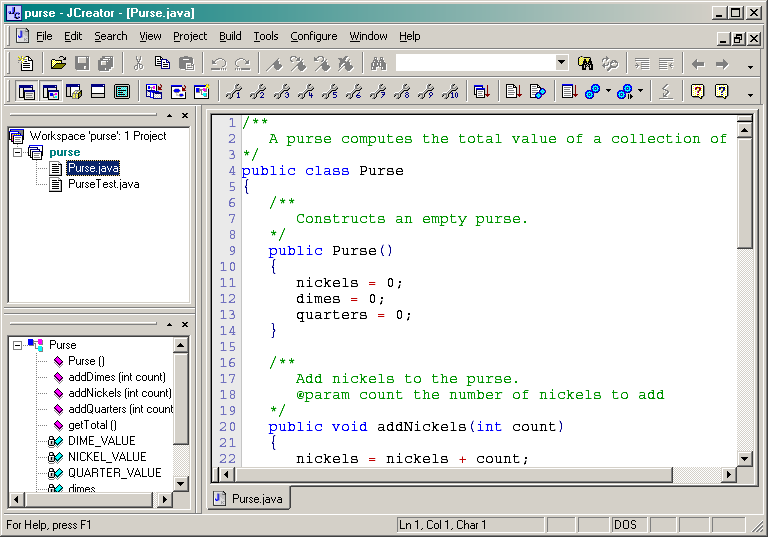
When you start JCreator, you get a screen such as this one:

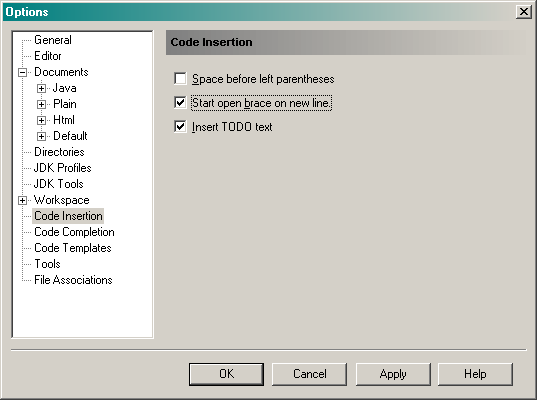
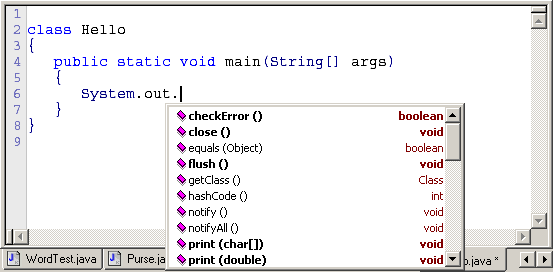
Next, choose Workspace->Code Insertion from the tree.
If you already have your program in a Java file (or a directory containing multiple Java files), then you need to make a project that contains the file. Follow these steps.
Select Project->New Project
from the menu. You will get the following dialog.
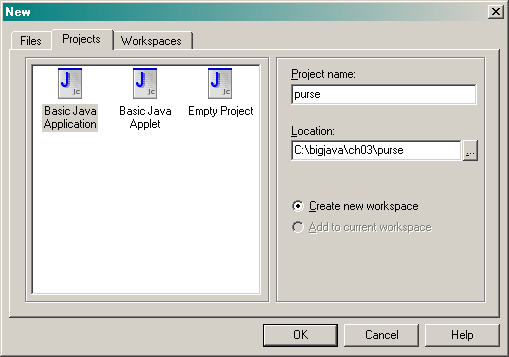
Give a name to the project.
The best choice for the name is the name of the directory that contains
the files. For example, if Purse.java
and PurseTest.java are
located inside a directory purse,
call the project purse.
Edit the Location field so
that it contains the full directory path of your program files, such as c:\bigjava\ch03\purse. Click on the Ok button.
CAUTION: When creating a
new project, JCreator wants to create a file with the same name as the
project name (such as Purse.java).
However, if you load an existing set of files, chances are good that
there is already a file with that name. In that case, you get a dialog
such as the following.
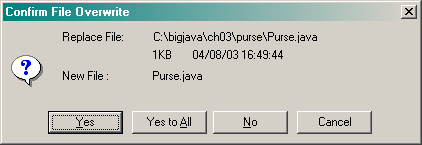
Be sure to choose No! You don't want the
existing file replaced with an empty file.
Usually, the project directory contains other useful files (such as PurseTest.java) that need to
become part of the project as well.
To include these files, select Project->Add
files from the menu. Locate the files that you want to add.
(You can select multiple files in the file dialog with the CTRL+Click
combination, or you can repeat this process multiple times.)
The files are added to the project window. Double-click on a file to
bring up an editor window.
If you write a program from scratch, then you can start your work in
JCreator. It is always best to place each of your programs into a
separate directory. JCreator will create the directory for you.
Select Project->New Project from
In the dialog, give a name to the project. The best choice for the name is the name of the directory that contains the files. For example, if your homework files are contained inside a directory hw1, call the project hw1.
Edit the Location field so that it contains the full directory path of your program files, such as c:\homework\hw1.

Click on the Ok button.
Your project is opened. JCreator adds a Java file with the same name
as the project, such as Hw1.java.
If you don't need that file, click on it in the project window and
select Edit->Delete from the
menu.
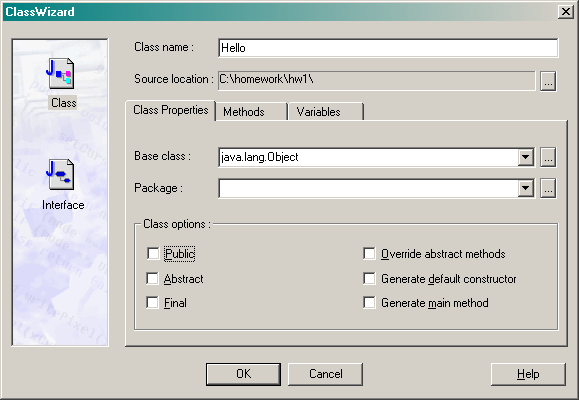
To add a new class to the project, choose Project->New class from the menu. You get a dialog such as the following:
You will usually have multiple projects open in JCreator. When you
are ready to compile and run a program, make sure that the project on
which you are working is the active project. Select Project->Active Project, and then select your
current project from the submenu.
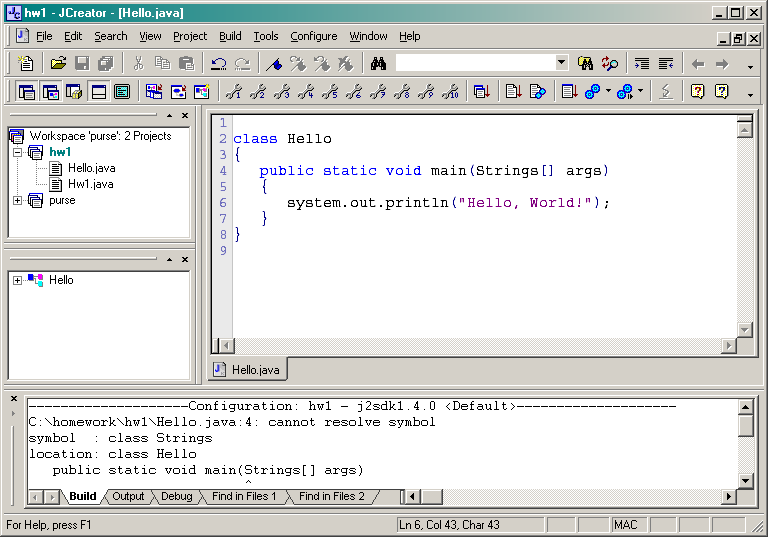
Compilation errors are displayed in a separate window.
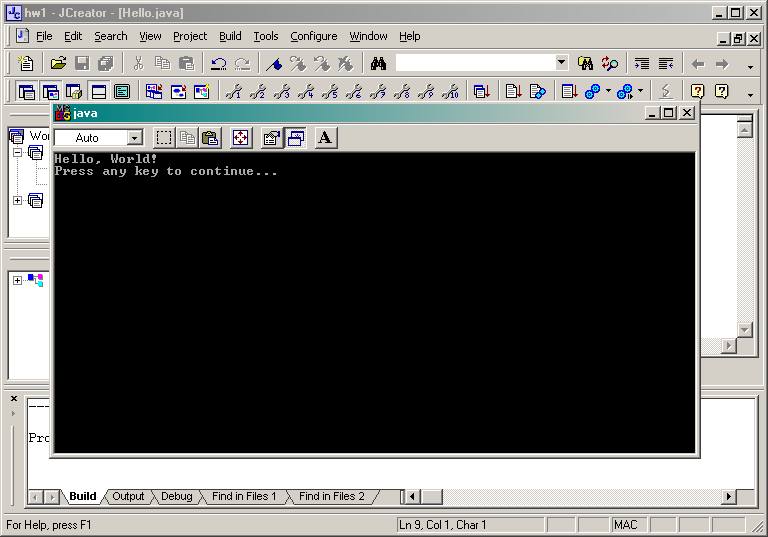
When the program compiles successfully, you can run it. Select Build->Execute Project or hit the F5
key. The program executes in a separate console window.
To run an applet, you must select Basic
Java applet in the project dialog when you first create the
project. As with applications, you add files or classes to your project.
JCreator produces an HTML file for your applet. You should use that
file (with extension .htm),
and not the HTML file that may be provided with an existing project.
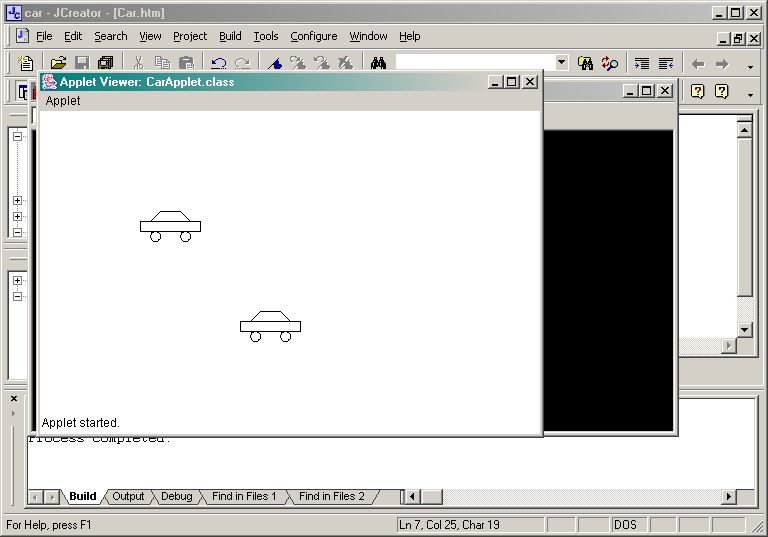
Sometimes, JCreator guesses the wrong name for the applet class, and
you need to fix it in the HTML file. For example, here we change the
class to CarApplet.class.
(JCreator guessed Car.class.)

After compiling the project, select the menu option Build->Execute Project. JCreator
will launch the applet viewer.
To use the debugger, you first need to change a compiler setting.
Select Configure->Options
from the menu and select Documents->JDK
Tools from the tree selector in the left of the dialog.
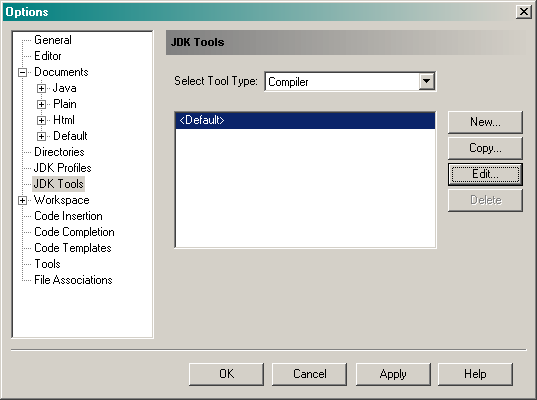
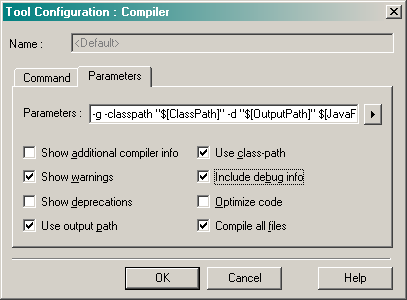
Highlight <Default> and click the Edit button. You get the following dialog:
Select the menu option Build->Start Debugger. The
debugger starts the program and pauses at the first line in main.
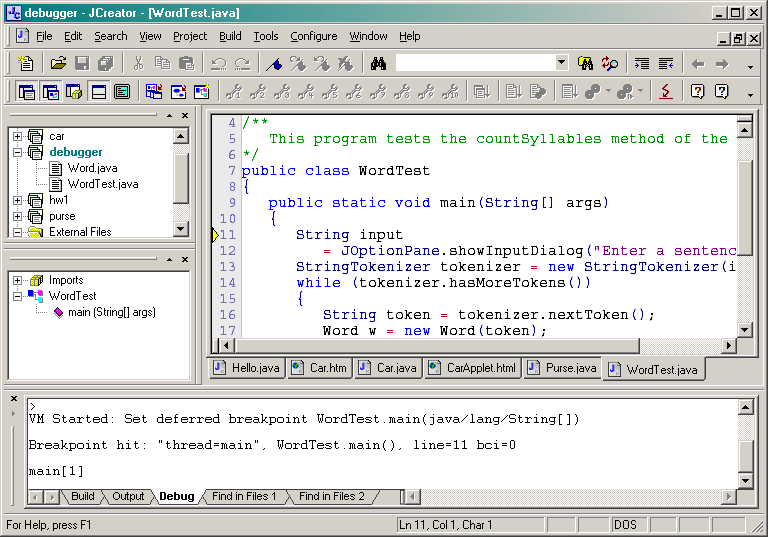
Whenever you select the menu option Build->Step (or the F10 keyboard shortcut), then the debugger executes one line of the program, without stepping inside method calls. For example, tracing over the call
Word w = new Word(token);
will not trace inside the Word constructor but simply run the program to the next line of the main method.
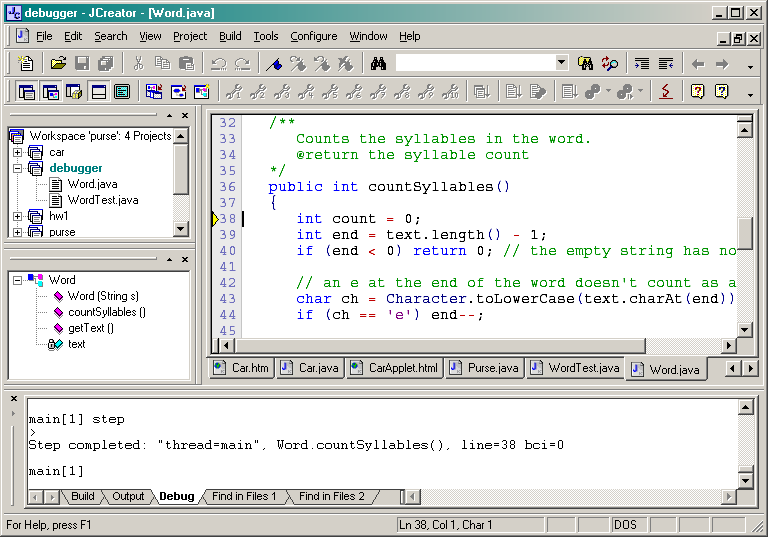
Contrast that with the menu option Build->Step Into (or the F11 keyboard shortcut). This command traces inside method calls. For example, tracing into the line
int syllables = w.countSyllables();
stops at the first line of the countSyllables method:
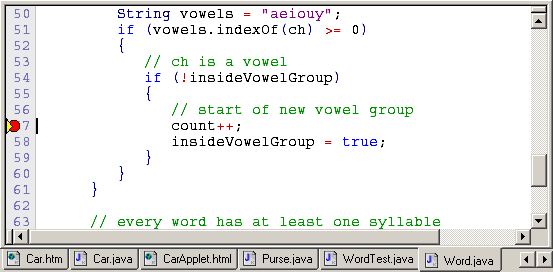
Often, it is tedious to step through the program a line at a time.
In that case, set breakpoints at interesting program locations. To set
a breakpoint at a line, move the cursor into the line and select the
menu option Build->Debugger->Toggle
breakpoint, or hit
the F9 key. A red dot indicates the breakpoint.
Then select Build->Continue
from the menu. The program runs at full speed and stops at any
breakpoints that it encounters.
If you select the menu option Build->Debugger->Dump, then the current settings of the local variables are displayed in the debug window.

Unfortunately, there seems to be no mechanism for inspecting instance fields.
If you select the menu option Build->Debugger->Where, the debug window shows the call stack. For example, the following call stack shows that the WordTest.main method called the Word.countSyllables method.

When the program has completed, the debugger stops automatically.
When you want to terminate a debugging session without running the
program to the end, select the menu option Tools->Stop tool.